|
Steps |
Results/Comments |
| 1. |
Insert the dreamweaver CD into the CD ROM. |
| 2. |
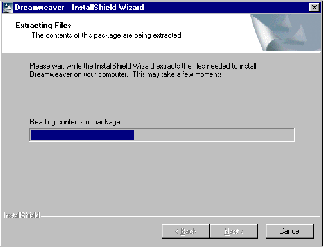
The Autorun Installation shield software package of Dreamweaver starts in order to extract the setup files in the temp directory. |
 |
| 3. |
After extracting all the files the Dreamweaver setup starts. |
 |
| 4. |
Click on next to proceed to the license agreement. |
| 5. |
Click yes on the agreement to proceed. |
| 6. |
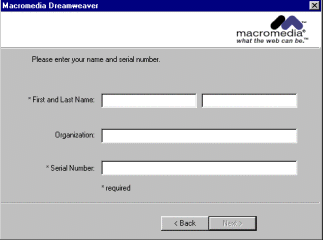
In the next screen type in the First and Last Name, Organization and finally the Serial number provided to you in the Dreamweaver Pack. |
 |
| 7. |
Dreamweaver verifies the Information and the serial number. If the serial number is correct then it will display a check mark opposite to the serial number field and the next button gets highlighted. If not then Dreamweaver setup will prompt you to re-enter the serial number. |
| 8. |
On accepting your information Dreamweaver will prompt you to install MDAC server 2.5. Press OK to continue. You require the MDAC server to run certain server components. You can find the MDAC server on Microsoft’s website. |
| 9. |
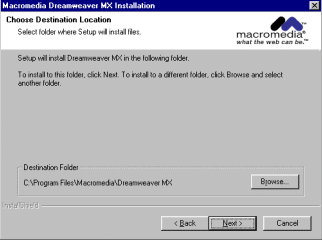
Next Dreamweaver will ask you the destination on your hard drive to install the software. |
 |
| 10. |
Click on next to proceed. |
| 11. |
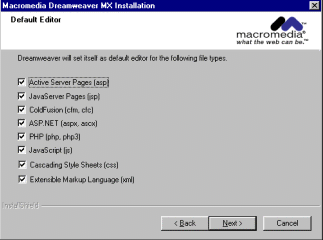
Select the scripting components you would want to install. By default all are checked. You can make a choice by unchecking a few. But it is preferred to leave this screen as it is and click on Next to proceed. |
 |
| 12. |
Next, Dreamweaver will then summarize the information specified by you until now. Click on Next to proceed. |
| 13. |
On clicking Next Dreamweaver starts installing its software files onto the specified destination. It may take anywhere between 2 to 5 minutes to install Dreamweaver depending on your machine CPU Speed. |
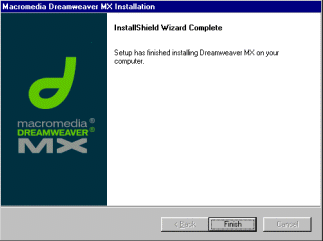
| 14. |
When all the files are installed, Dreamweaver will then ask you to Click on Finish button in order to close the setup as all the software files are installed on your system. |
 |
| 15. |
On Clicking finish button Dreamweaver will open the Macromedia window and you will be able to see all the installed executable files. |
 |
| 16. |
Close this window and navigate to start. |
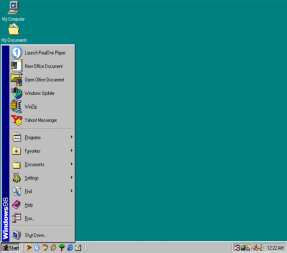 |
| 17. |
Click on Start, The start menu opens. |
|
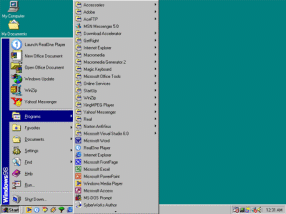
| 18. |
Then select Programs, and navigate to Macromedia. The Macromedia menu opens. |
 |
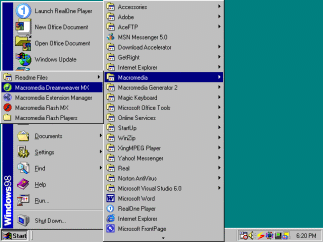
| 19. |
Select on Dreamweaver MX to open the Dreamweaver interface. |
 |
| 20. |
Before opening the Dreamweaver interface you are prompt to choose a layout between Dreamweaver MX Workspace or Dreamweaver 4 workspace. |
 |
| 21. |
Select the MX interface and click on OK button to proceed. The difference between both the interfaces is that everything is in a panel format in MX, where as in Dreamweaver 4 all the options are in the windows format. |
| 22. |
The Dreamweaver interface opens. |
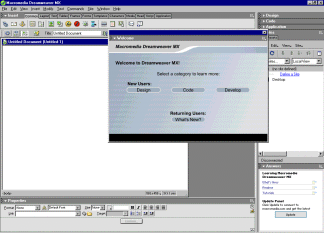 |
| 23. |
Dreamweaver gives you the choice to work in three modes namely Design, Code and Develop. The design mode is required when you want to operate everything thru the menus. The Code mode is required when you want to manually type in the code like HTML tags, JavaScript snippets and so on. And finally you use the Develop Mode for entering the Development environment so that you can work with technologies like ASP, JSP, CFML and more. |
| 24. |
Select the Design Mode as you are going to design a website in Dreamweaver. |
| 25. |
Then click on the options on the right hand side of the Welcome Panel and select Close panel group to dock the Welcome Panel. |
| 26. |
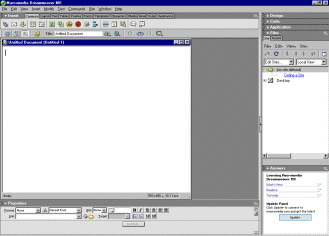
You get next is the Dreamweaver interface to work with. |
 |